*Note: the following applies to ALL Sony TVs with EX2T chassis and L500 in the model name: KLV-26L500A, KLV-32L500A, KLV-37L500A etc. It MIGHT apply to other variants, but I can't make any claim to it.
It's been a while since I repaired these 2 TV sets (same models, different faults). I don't have many photos of the process, so it won't be a long entry. Rather it can be seen as a support guide in case of finding similar faults on same-model Bravias.
Case 1: "Solarized" image
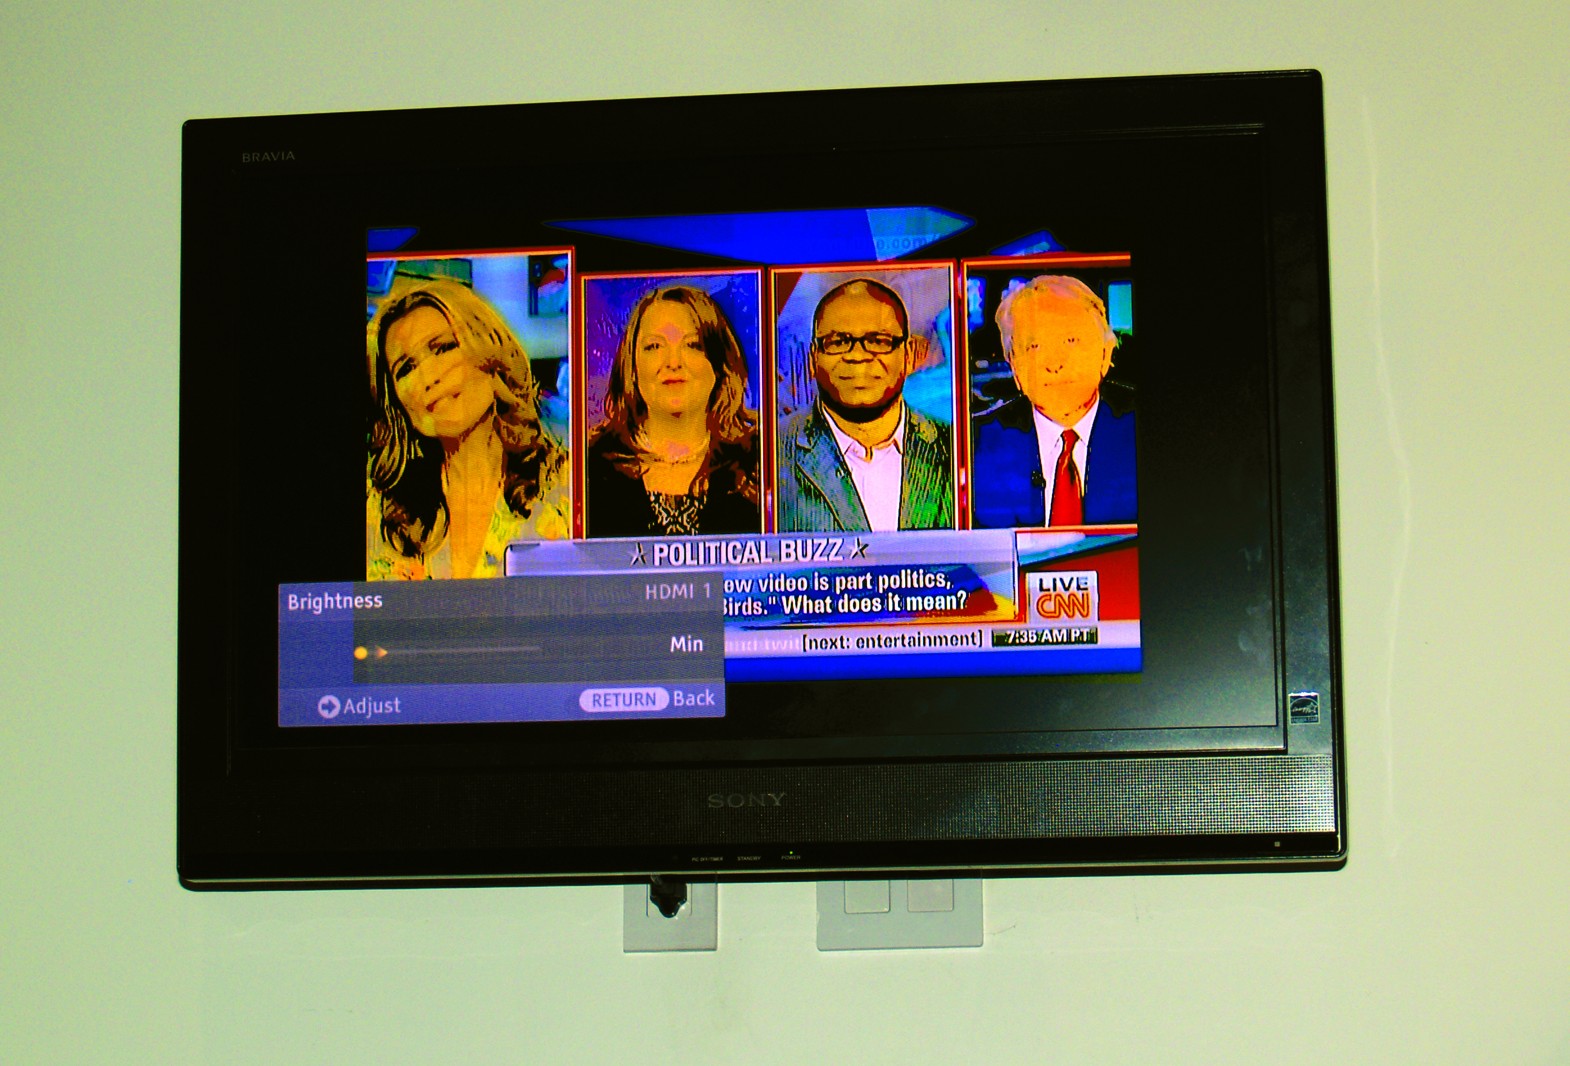
In this case, the culprit is almost always the same IC: AS15-F/G/U (they're all the same). It's a multi-channel operational amplifier, whose function is gamma correction in LCD panels. When one or more channels of this IC fail, the result is a "solarized" image (first pic is an example image from internet, rest of photos are mine) and extreme overheating, easily recognizable to the naked eye or finger-meter:
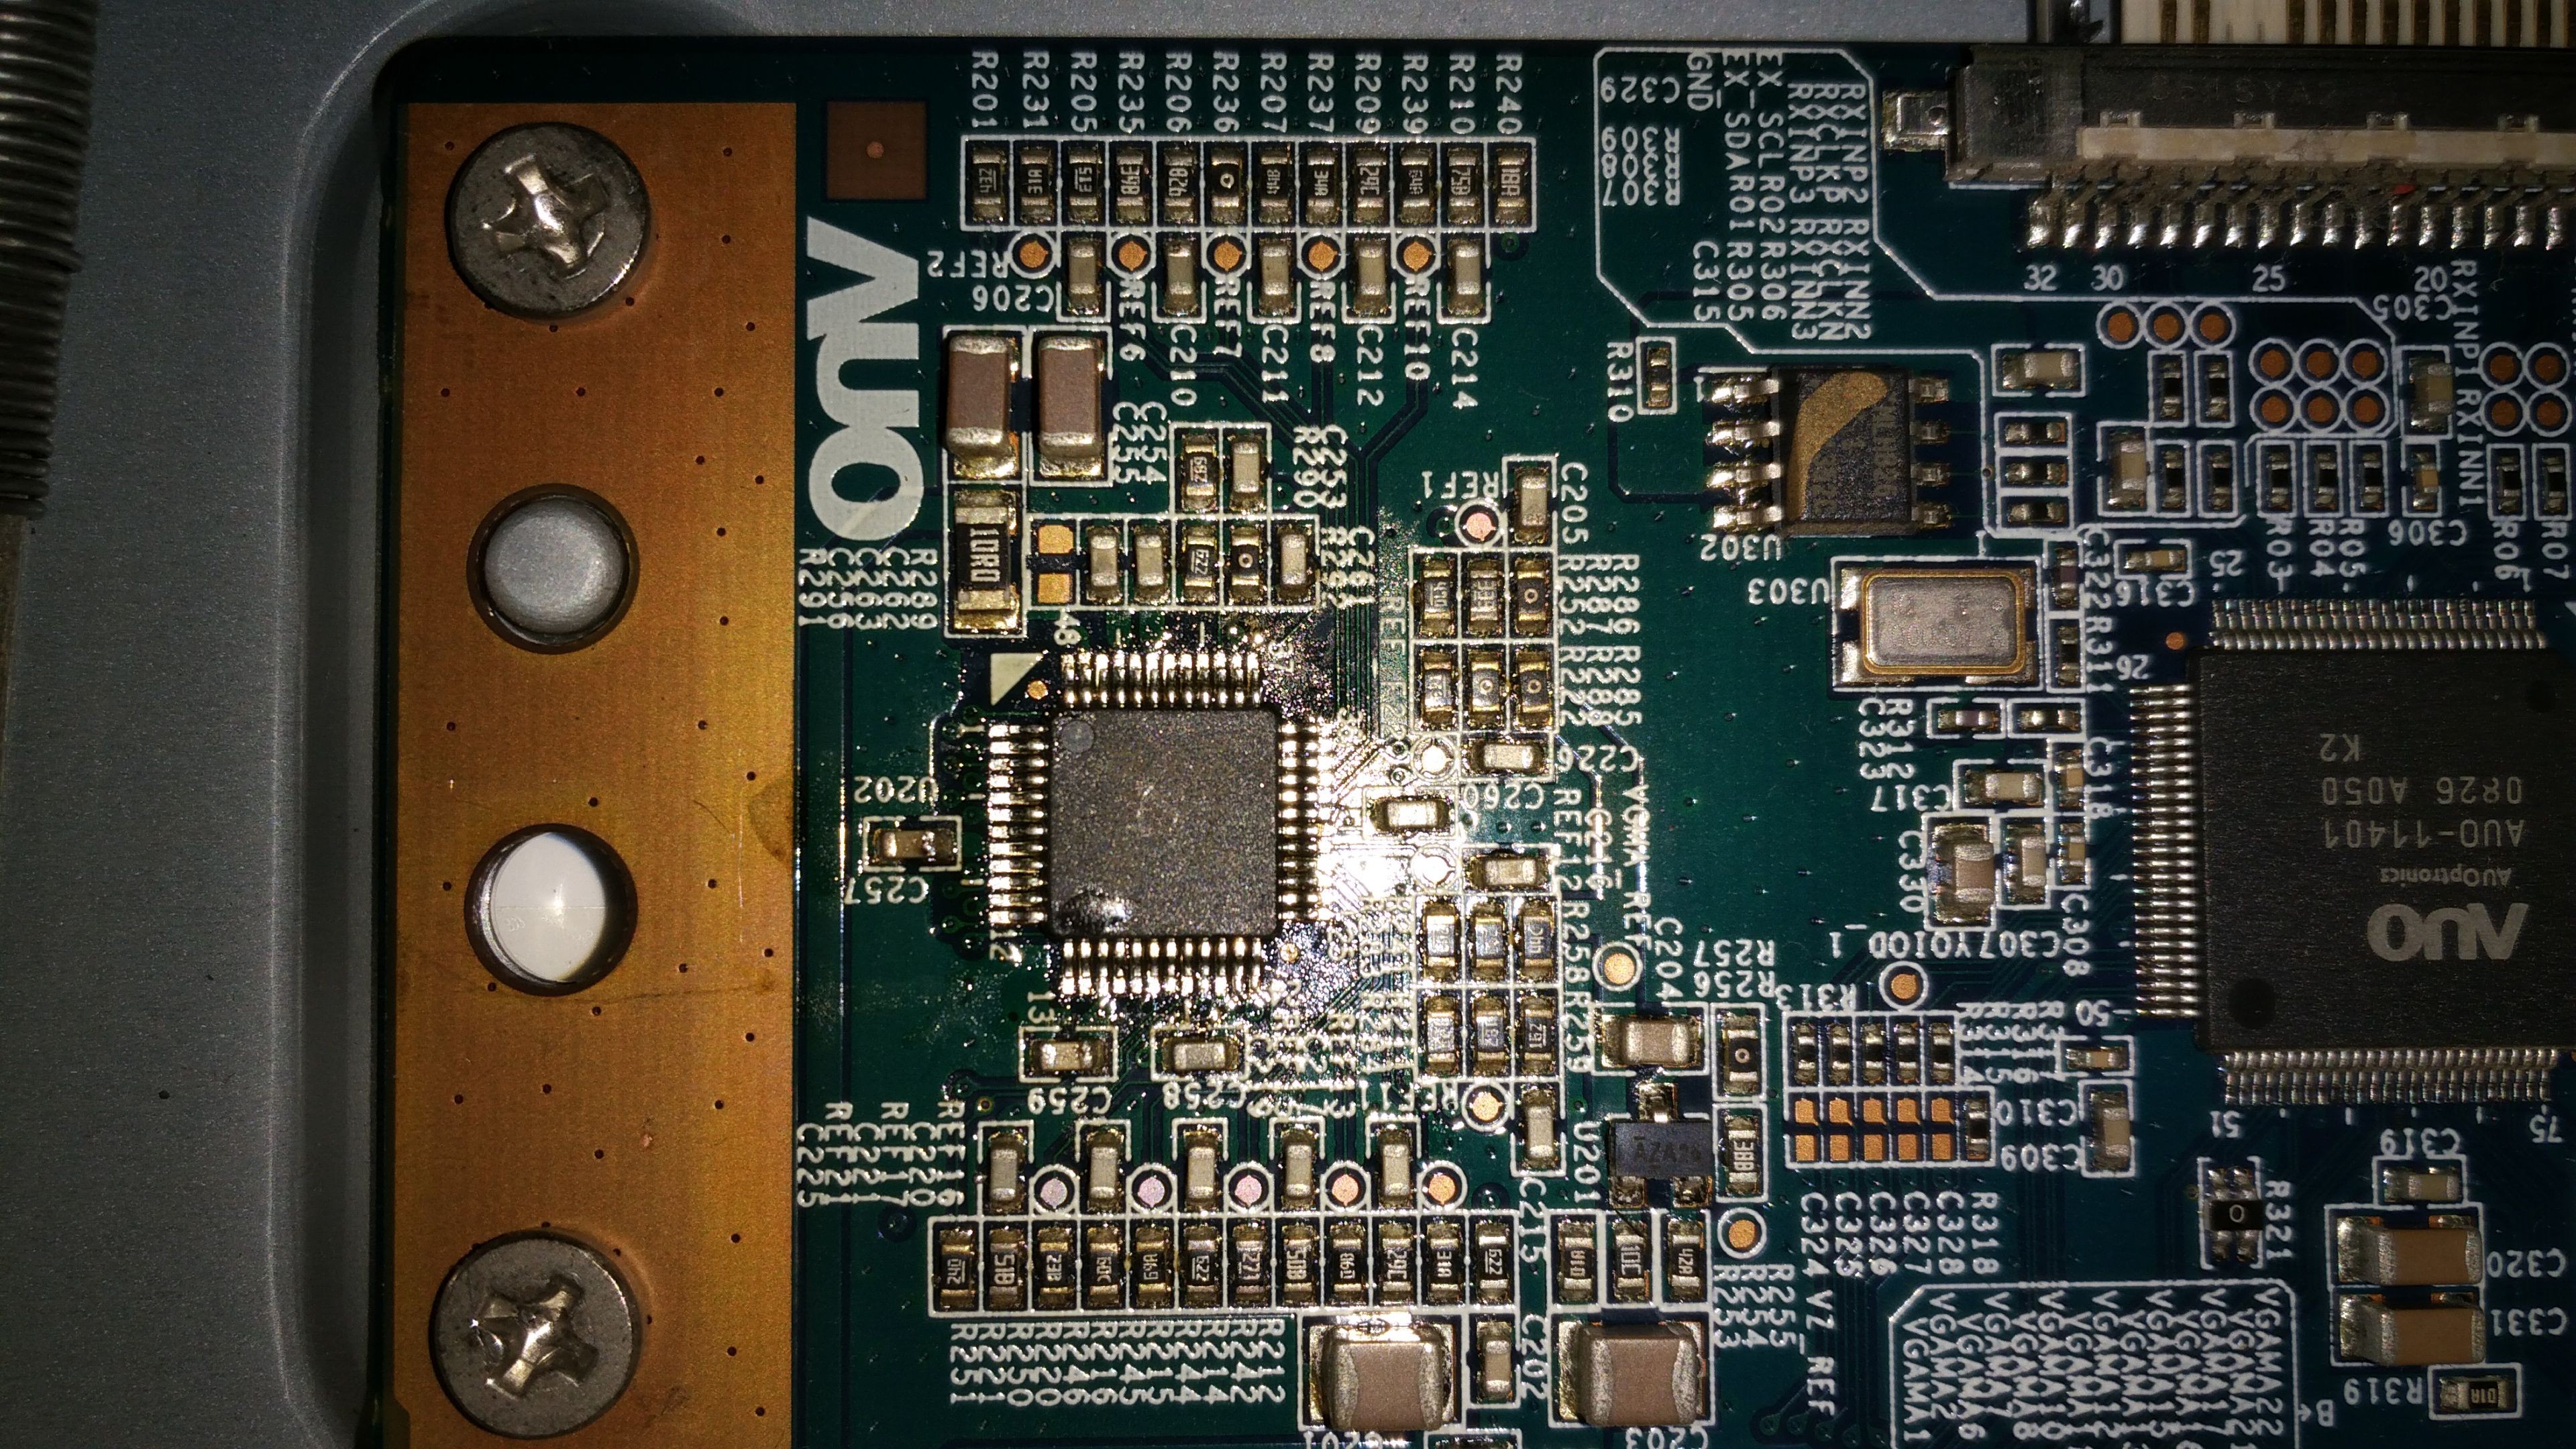
AS15 - 14+1 Channel Voltage Buffers for TFT LCD (PDF, english). Ouch.
It isn't an expensive nor difficult part to obtain, but to manipulate SMD components special tools are required. If you do not have them, it's better to leave the job to a specialist.
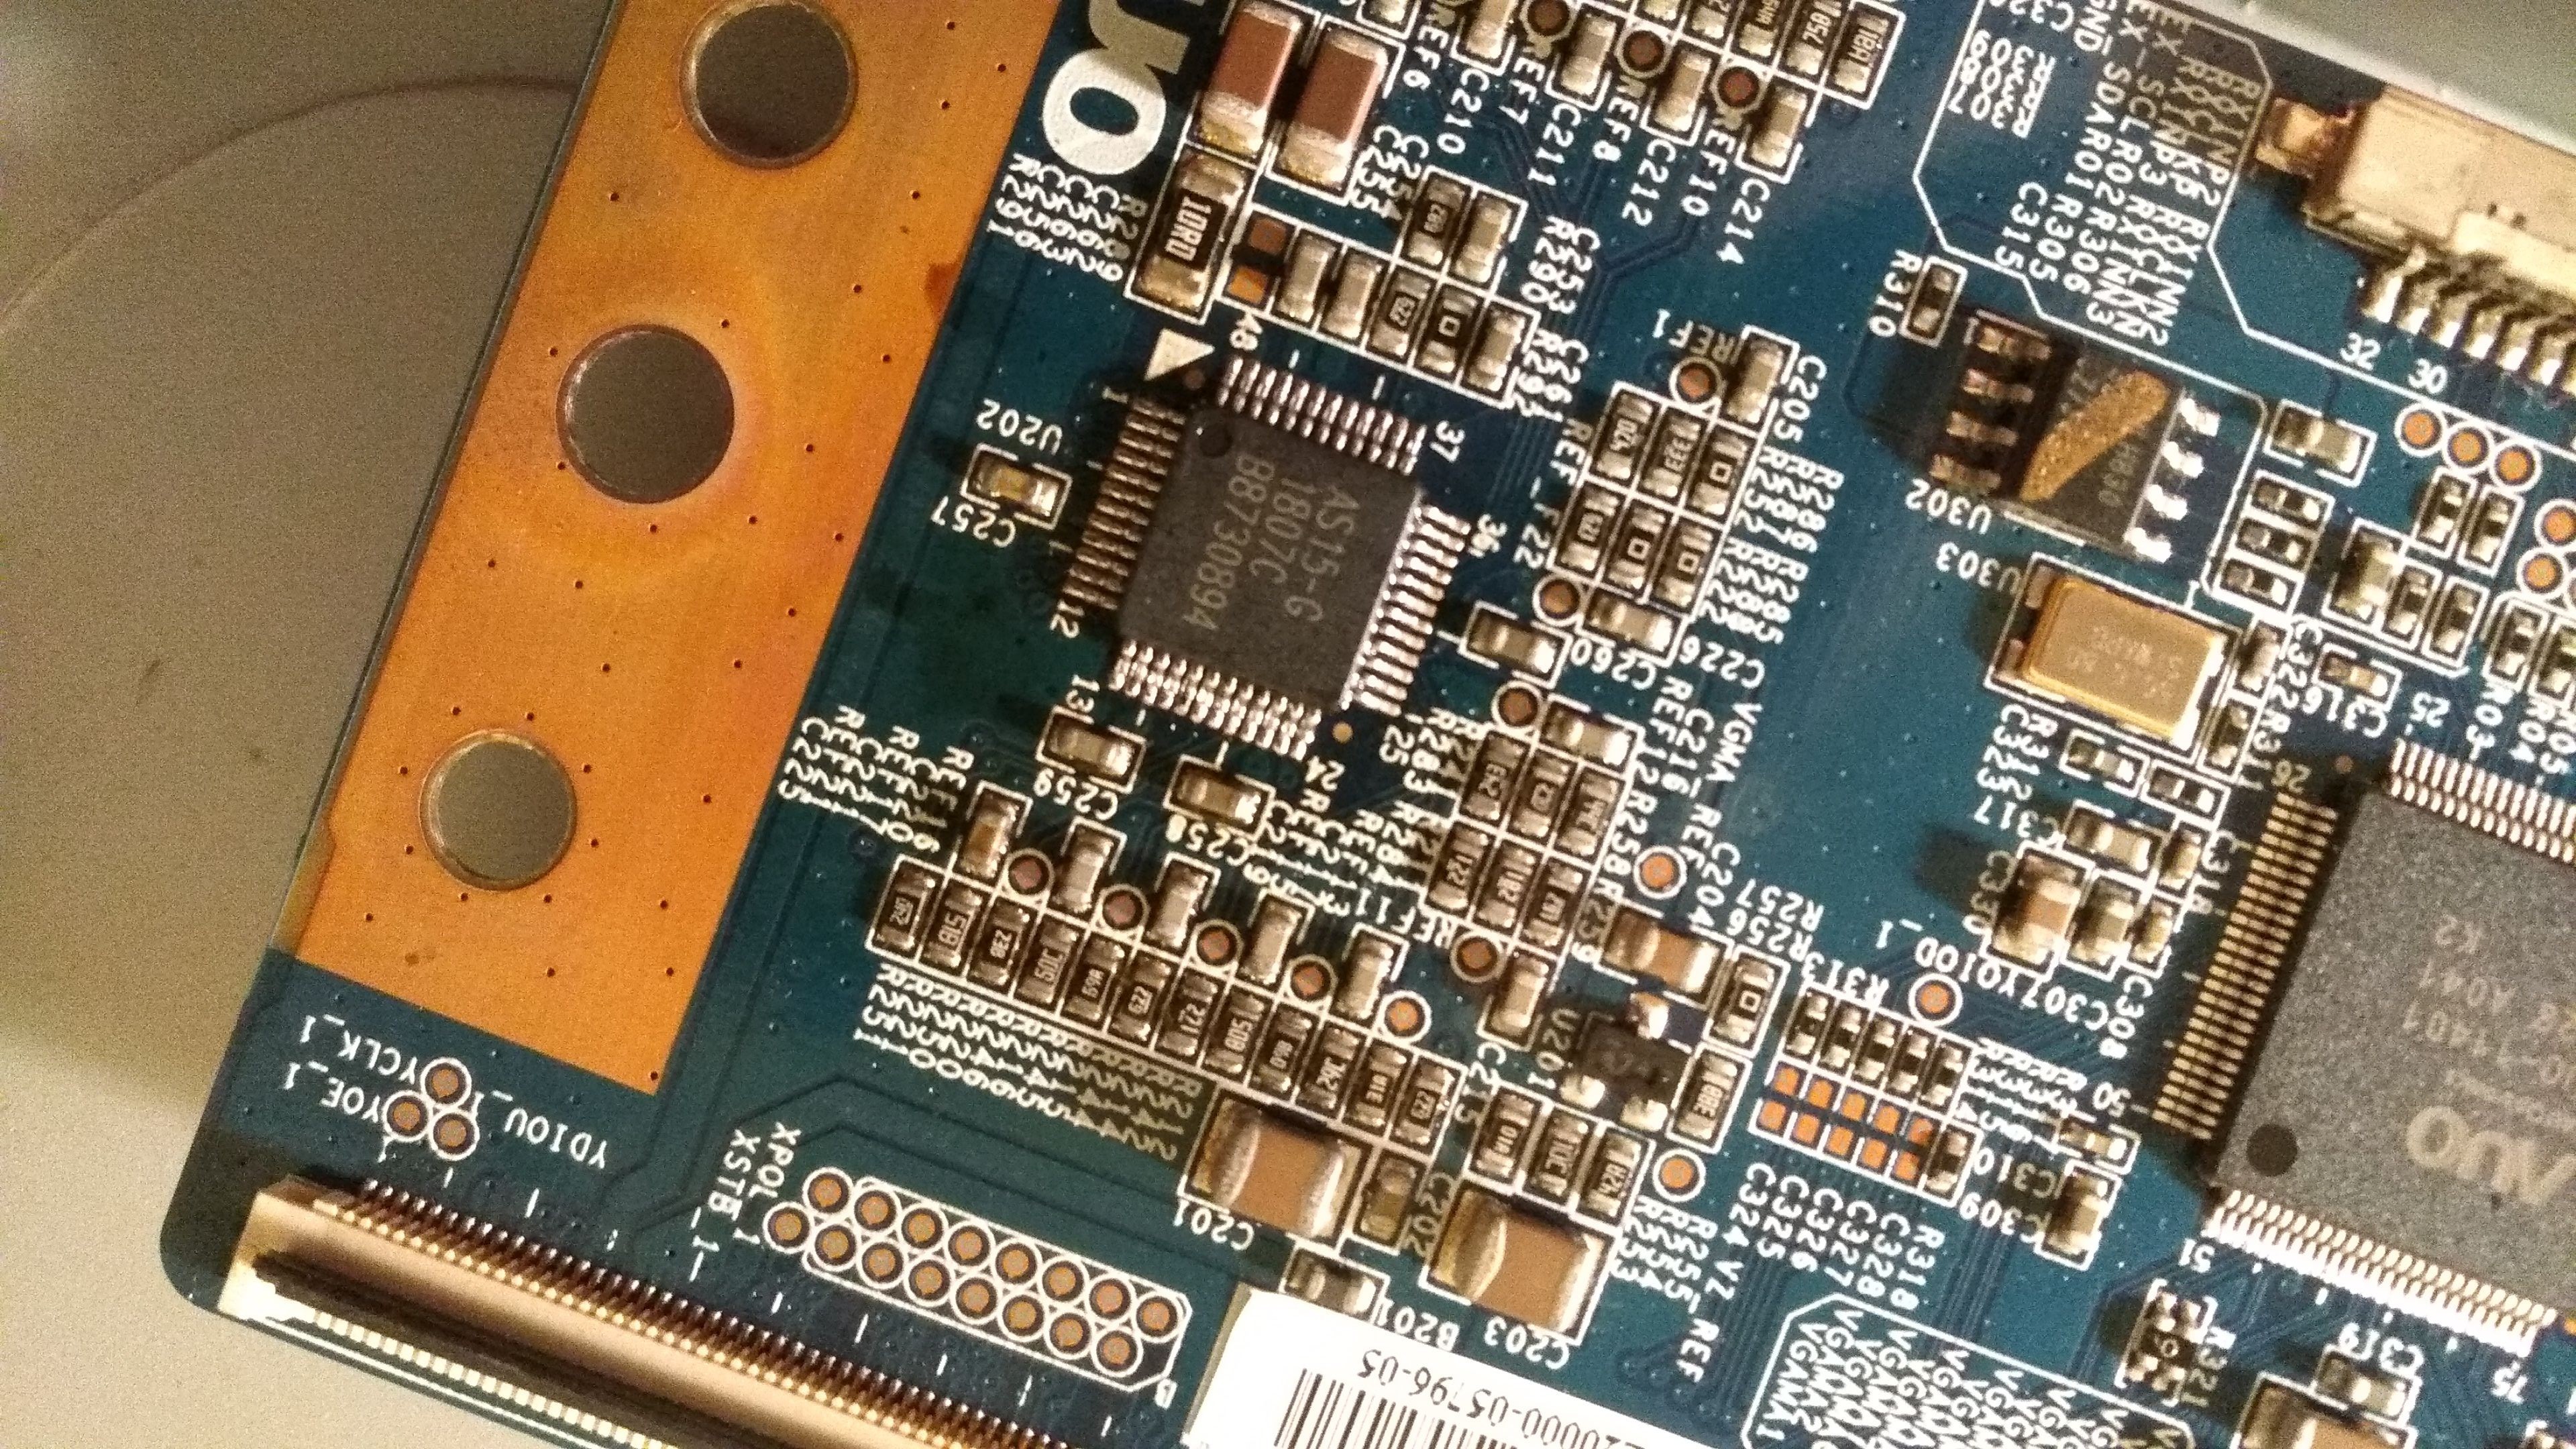
A new IC in its place. PCB not cleaned yet.
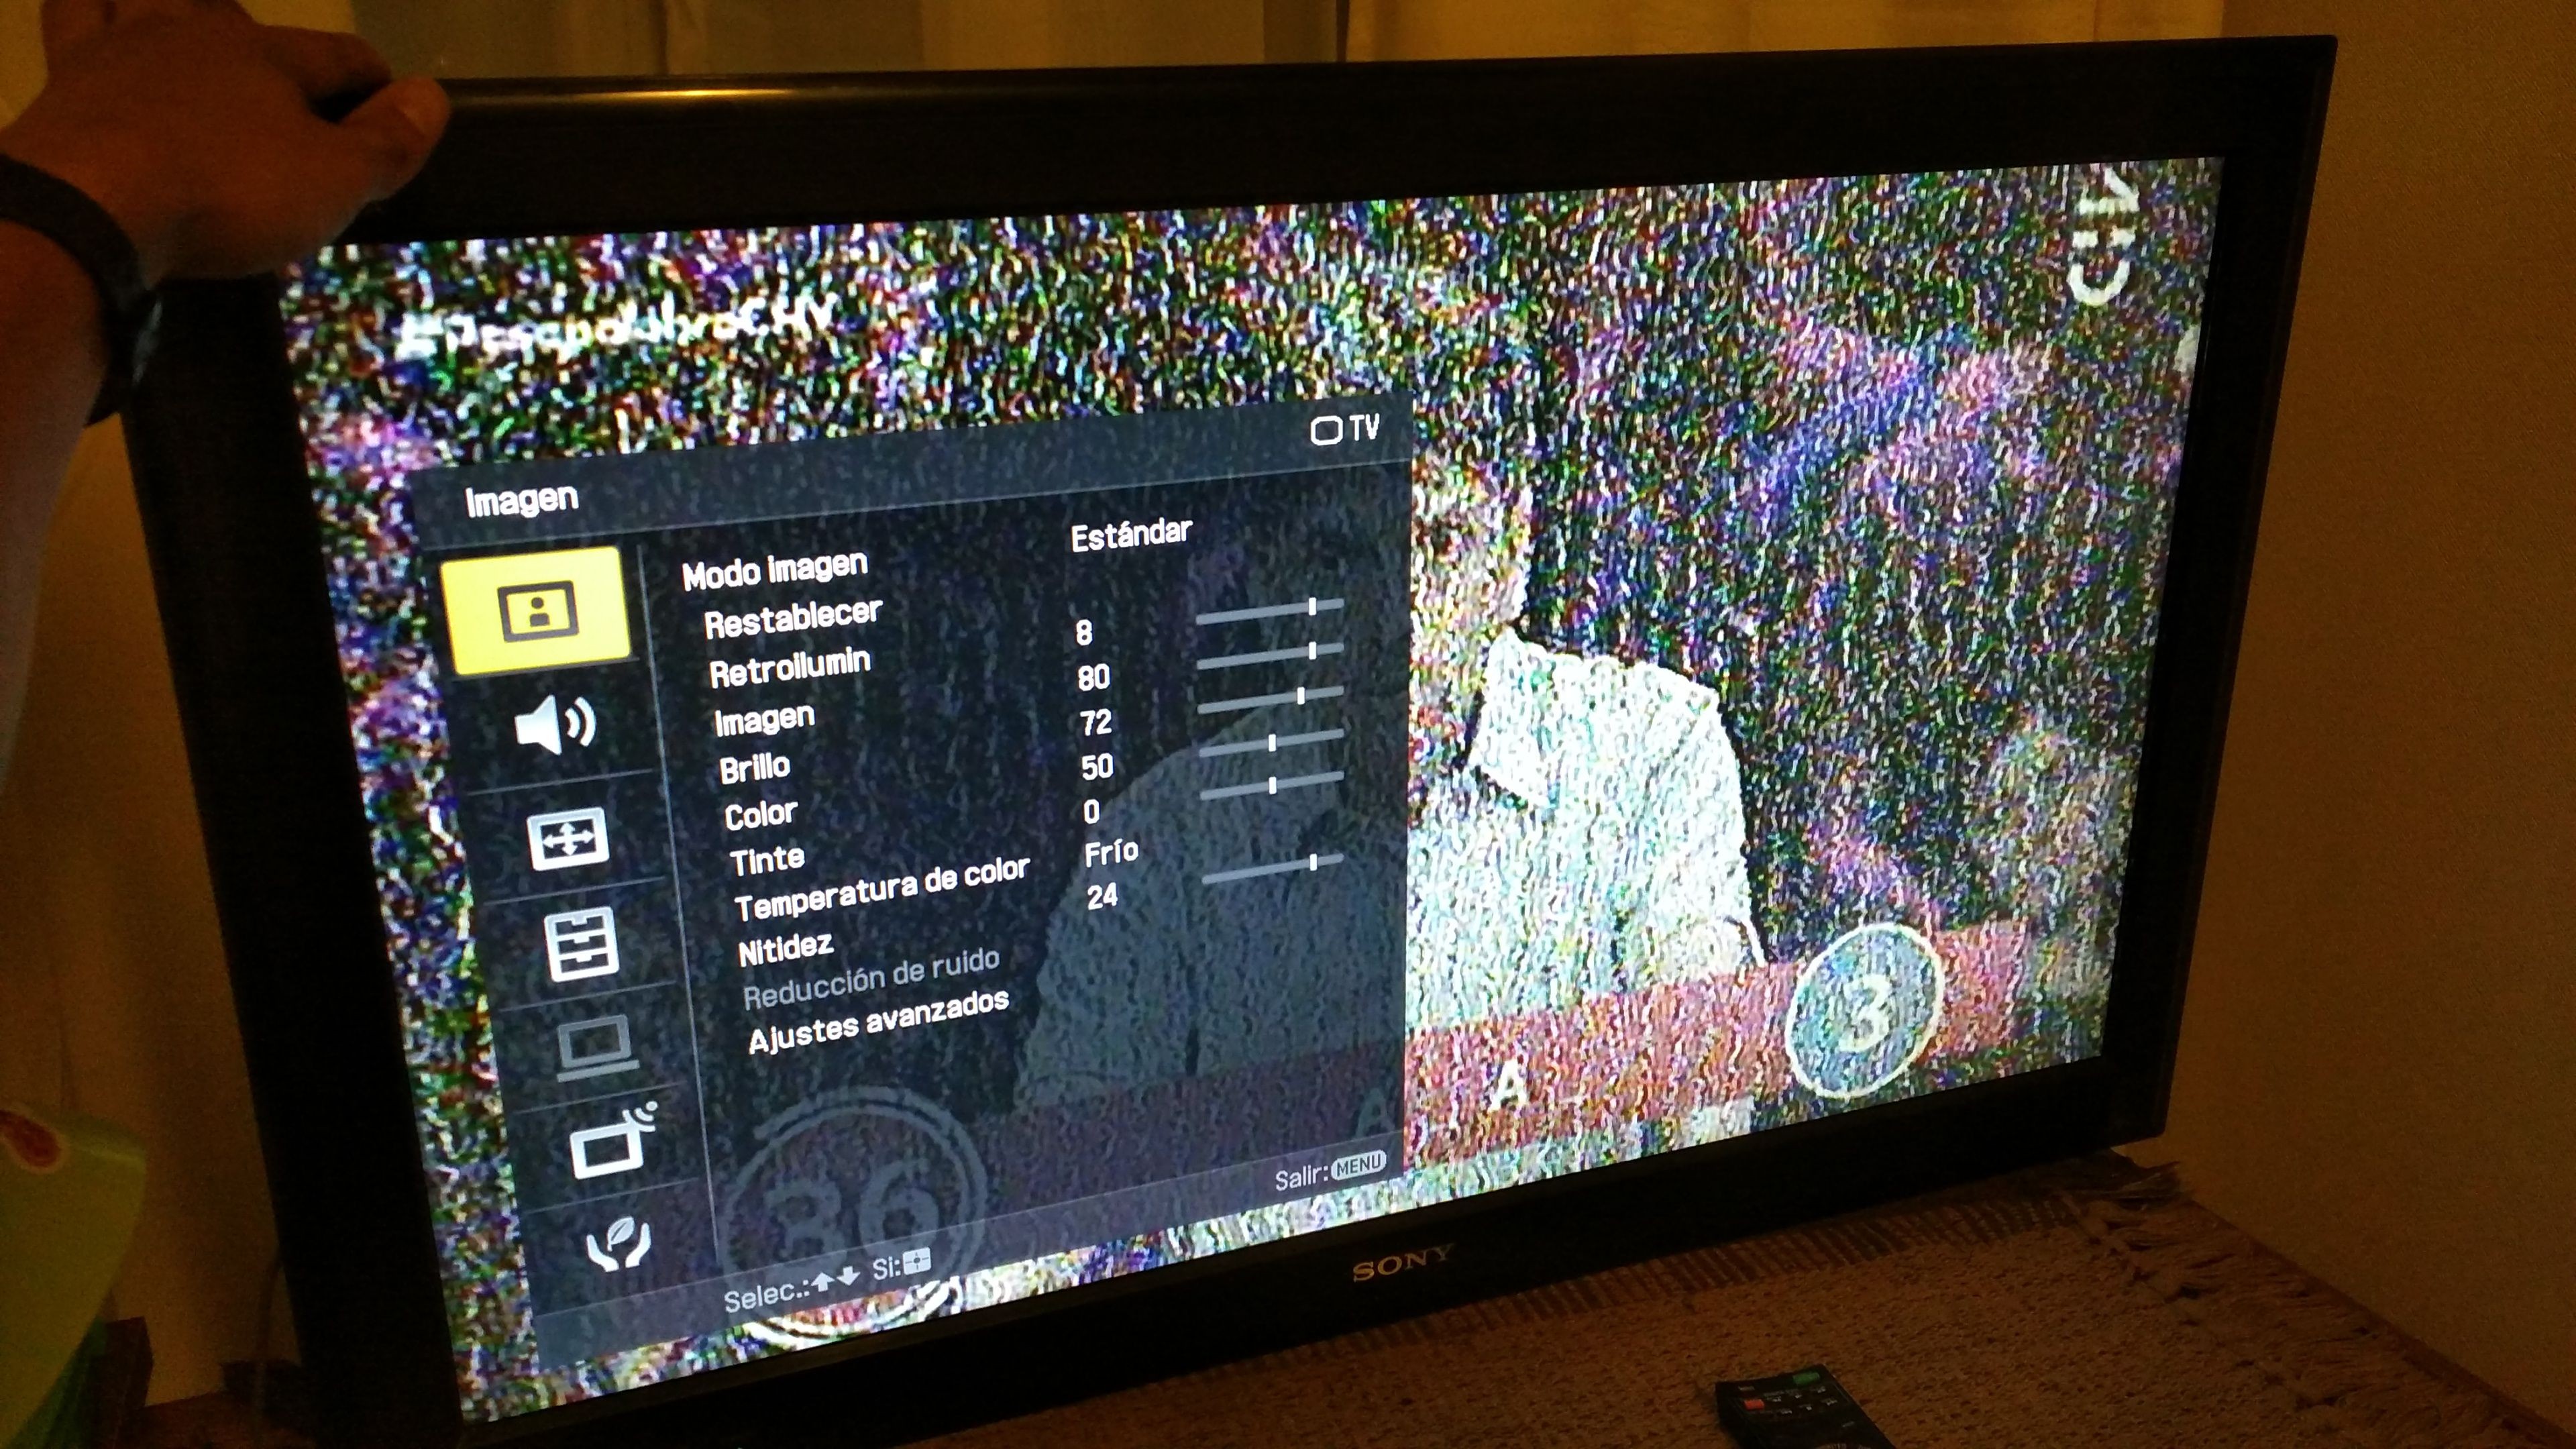
Case 2: TV turns on and off in short time
We're facing a firmware failure here, not a hardware one. Specifically, the contents of the EEPROM block that stores TV settings is corrupt. The symptom is that the TV backlight turns on, but there is no image and it turns off after a few seconds.
One way to determine if the set is "repairable" is to enter Service mode, a special diagnostics mode that many TVs have. (In this model, and for THIS fail mode, if it doesn't enter Service mode then the failure is elsewhere and this guide won't help). The way of access differs between brands, but in this case is achieved with the following key sequence from the remote:
- Keep each key pressed more than 1 sec, and less than 2 sec
- Press in order: DISPLAY > 5 > Volume+ > POWER
- TV should turn on in Service mode.
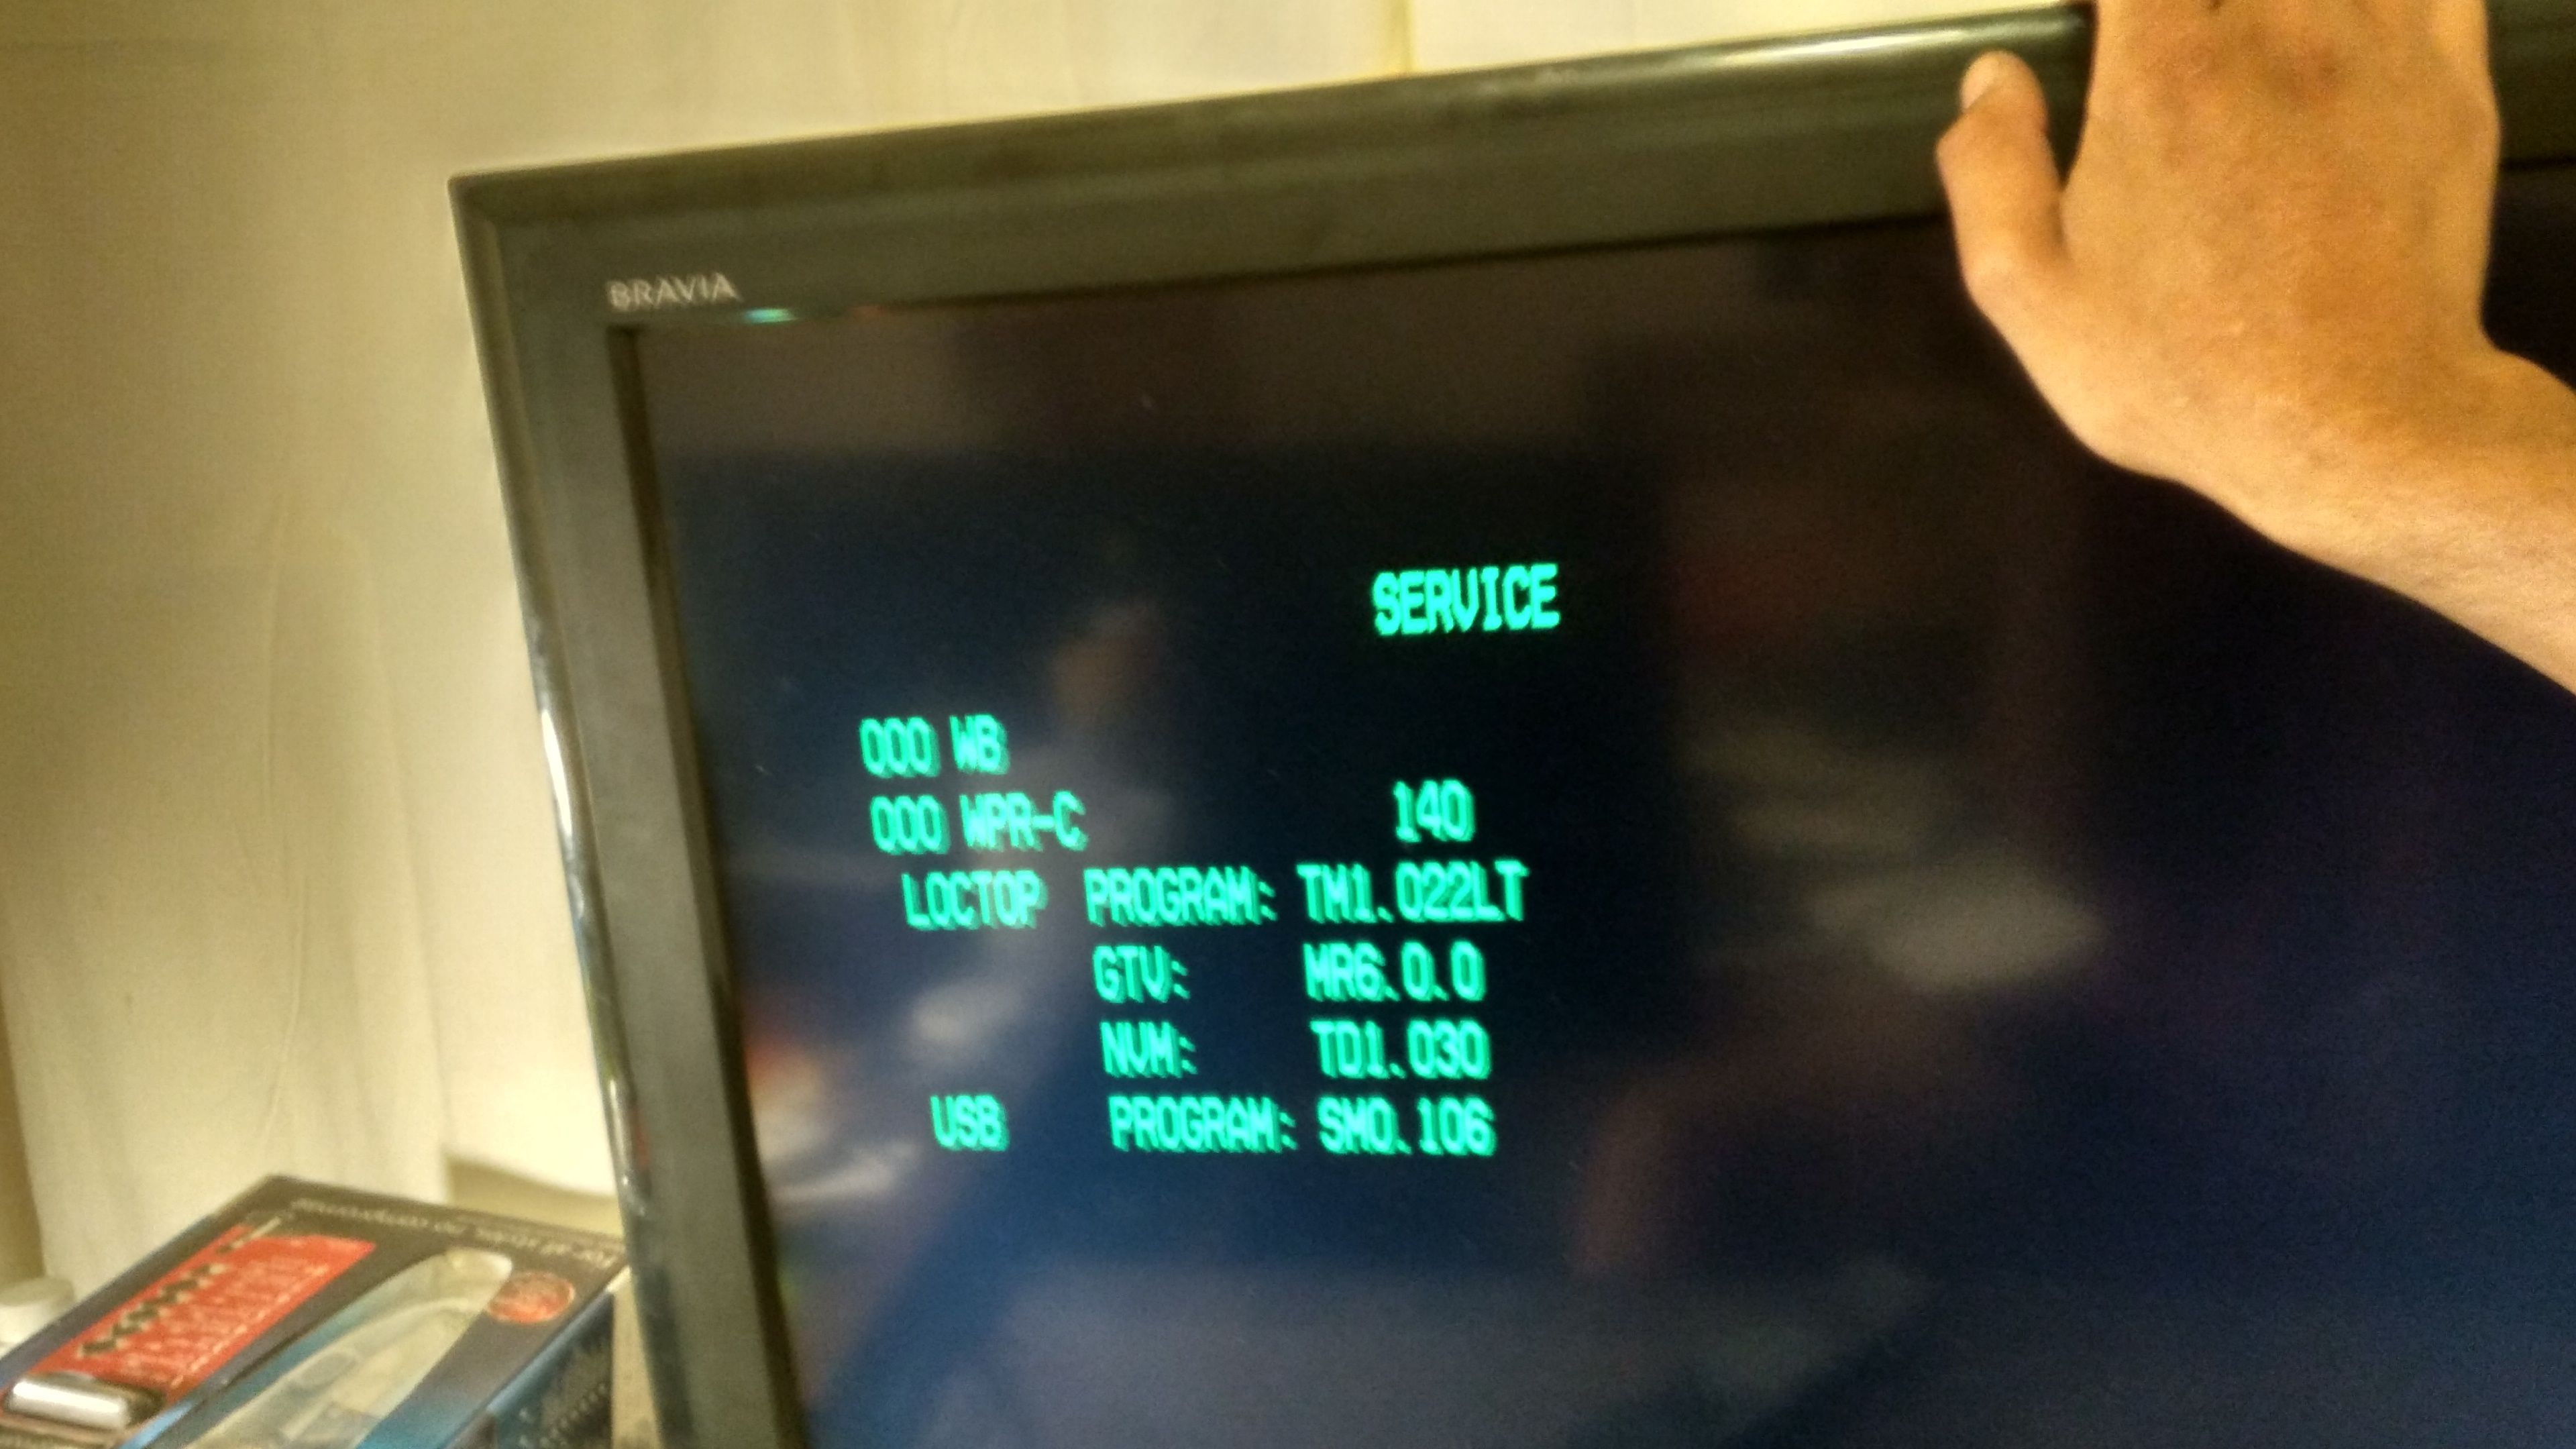
- Open the TV, remove the Main PCB without disconnecting any cable, and position it in such a way that you can access the back of it, with the TV running. Be VERY careful when doing this! One bad move and a serious/irreparable damage to the TV (or YOU) may occur!
- Locate the serial EEPROM silkscreened as IC3002 (SOIC, 8 pins). It's on the back of the PCB, near the main SoC that is on the other side.
- With the TV off, short pins 5+6 of this IC, then turn on from side button. Keep it like that for a few seconds. Firm hands here!
- Remove the short, wait a couple of seconds and just disconnect from mains. Do NOT turn off from remote or side buttons.
- Reconnect the TV, and turn on from the side button.
Explanation:
when shorting the EEPROM data lines, the IC is "isolated"
electrically-wise from the SoC. Upon (not) seeing this, the firmware activates a
"flag" in the bootloader of the SoC, instructing to reinitialize the
contents of the settings block on EEPROM with the factory parameters
contained in the MAIN ROM, in an attempt to recover itself.
If done correctly, and this might take more than one try, the TV will show the welcome assistant :) and then we will have a functional Sony Bravia again!
And now with our repaired TV, we can have a bit of fun!